
Do you want to create products and services that people love to use?
If so, then you need to follow a structured UX design process.
The UX design process is a systematic approach to creating user-centered products and services.
In this article, we’ll cover:
Whether you're a UX designer, product manager, or entrepreneur, this article will help you understand the UX design process and implement it in your projects.
The UX design process is a series of steps that UX designers take to create products that are easy to use and enjoyable for the end user. It puts the user first, and every decision is made with their needs in mind.
Along the way, you'll need to gather feedback, iterate on your designs, and test your hypotheses.
A structured design process ensures that everyone involved in a project shares a clear understanding of design goals, requirements, and constraints. Without this structure, misunderstandings and errors can easily arise, leading to design misalignment with business objectives.
Consider a team working on a mobile app. With a structured process in place, everyone knows the target audience, features, and project timeline. This clarity prevents scope creep and keeps everyone on the same page.
Structured design breaks down the project into smaller, manageable modules. This modularity enhances the ease of development, testing, and maintenance. It also makes adapting to changes in design or user requirements more straightforward.
If you’re designing a complex website, a structured approach divides it into sections, such as homepage, product catalog, and checkout. It really simplifies development and updates.
A structured design process identifies and rectifies errors early in the design phase. By catching mistakes before they propagate throughout the project, it saves time, money, and prevents costly errors in the final product.
With structured design, issues like security vulnerabilities or usability problems are discovered and resolved during the planning stage, not after the product launch.
Structured design integrates usability testing early in the process. By involving users in the evaluation of prototypes and designs, it identifies and resolves usability issues promptly.
If you’re designing a website for your product, for example, usability testing helps identify navigation challenges and interface issues before the site goes live, ensuring a smooth user experience.
The first step of the UX Design process is to understand your users. This means understanding their needs, behaviors, and aspirations. That’s what UX research is all about. You can use different methods to find answers, like surveys, interviews, and usability testing.
Let's take a closer look at processes that can contributes to understanding your users via UX research:
Understanding your users on a personal level is essential. User personas and demographics go beyond surface-level information, to give you valuable insights into who your users are, what motivates them, and how they interact with your digital products. They dive deep into users' motivations, pain points, and preferences, helping you tailor your product to their specific needs.
User personas provide a clear and relatable representation of different user segments, allowing your team to empathize with and design for real individuals, not just abstract concepts.
For example, you might discover that one user persona values convenience and time-saving features, while another prioritizes aesthetic design and user interface simplicity.
By aligning your team around these personas, you can ensure that everyone has a common understanding of the users you're designing for.
Moreover, user personas and demographics evolve as your product matures. As you gather more data and insights, you can refine and update these profiles to reflect your growing understanding of your audience.
To create a successful digital product, you need to be aware of the broader market landscape and how your competitors are positioning themselves. This knowledge can inform your design decisions and help you identify opportunities.
User feedback is the lifeblood of user-centered design. It can provide essential insights into what works, what doesn't, and what needs improvement.
The goal of UX research is to understand your users and their problems. Once you understand your users, you can define a problem statement that will guide your design process.
A problem statement is a concise description of the problem that your product or service is trying to solve. It should be based on real-world user insights, not assumptions.
To define a problem statement, use the information you have gathered from the different sources we discussed earlier, such as:
Once you have gathered this information, you can start to synthesize it and identify the key problems that your users are facing. Then, you can write a problem statement that clearly articulates these problems.
Now that you have a clear understanding of your users, it's time to start brainstorming creative solutions to address their needs. This is the ideation and conceptualization phase of the UX design process. This is where the foundation for the final design is laid. It will usually follow the steps below.
The first step in the ideation phase is to brainstorm creative solutions. This can be done by using different techniques, such as:
Design thinking is a problem-solving approach that uses creativity and empathy to come up with innovative solutions. It starts by understanding the user's needs and pain points. Once the problem is understood, designers use creativity and brainstorming techniques to generate solutions.
Collaborative workshops are a great way to get input from a variety of stakeholders and generate new ideas. These workshops can be held with users, designers, developers, and other stakeholders. The goal of the workshop is to create a space where everyone can share their ideas and collaborate on solutions.
Mind mapping is a visual way to brainstorm ideas and relationships between them. It is a great way to get your thoughts down on paper and see how they connect. To create a mind map, start with a central idea and then branch out to related ideas. You can use images, symbols, and colors to make your mind map more visually appealing. Let's say you are brainstorming ideas for a new marketing campaign. You might start by creating a mind map with the central idea of "increase brand awareness." You could then branch out to related ideas, such as "create a catchy slogan," "run a social media campaign," or "sponsor a local event."
Crazy eights is a rapid ideation technique that helps you generate eight ideas in eight minutes. It is a great way to come up with a lot of ideas quickly. To do crazy eights, start by setting a timer for eight minutes. Then, take a piece of paper and draw eight boxes. In each box, write down one idea for a solution to the problem you are facing. For example, let's say you are designing a new app for ordering food. You could use crazy eights to generate eight ideas for new features or functions for the app.
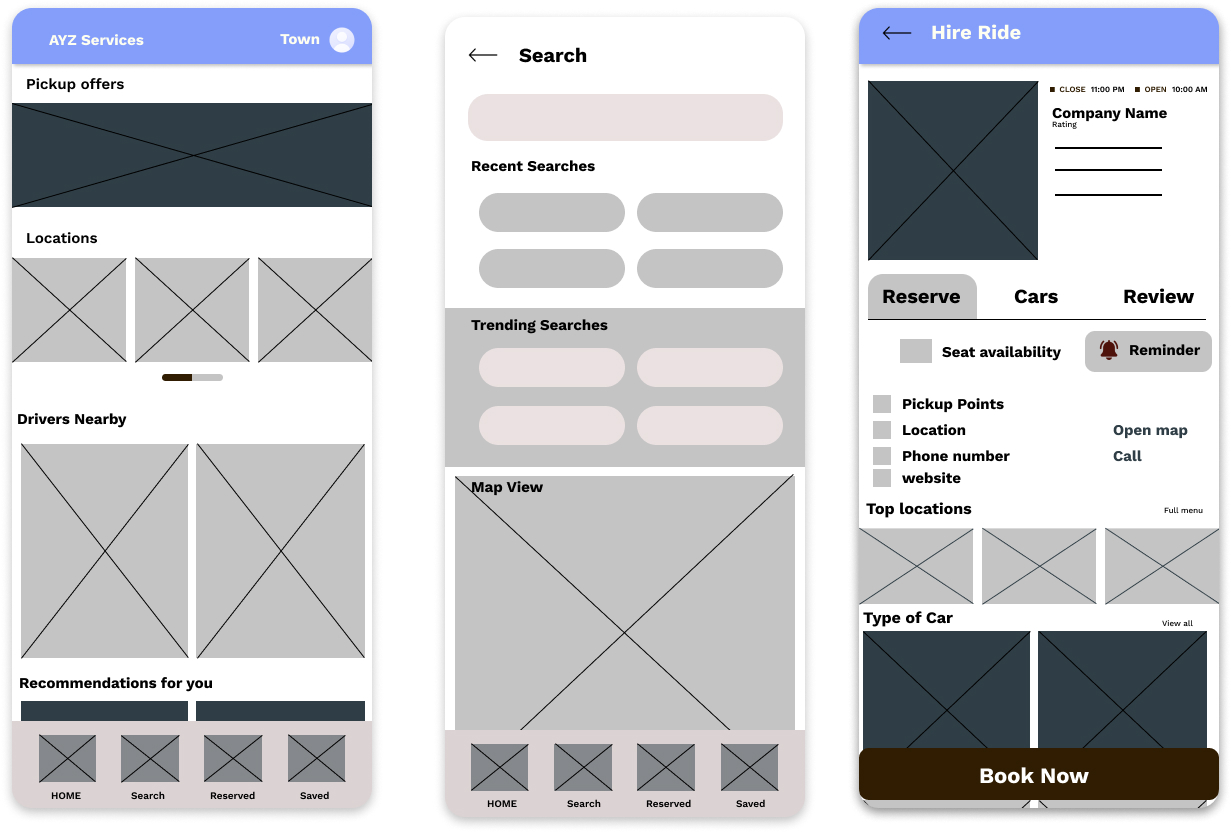
Once you have some creative ideas, it is helpful to sketch them out. This will help you to visualize the concepts and see how they might work in practice. Wireframes are low-fidelity representations of the design, while layouts are more detailed representations.
Collaborative design thinking techniques are a set of methods that can be used to solve problems creatively and innovatively. They are based on the idea that the best solutions come from people working together and sharing their ideas.
Some of the most common collaborative design thinking techniques include:
These techniques can be used in any kind of design project, but they are especially useful for projects that involve a lot of collaboration
After you have brainstormed some creative solutions and sketched out some initial wireframes, it's time to start prototyping. Prototyping is the process of creating a working model of your design so that you can test it out and get feedback from users.
Low-fidelity wireframes are quick and easy to create, and they're a great way to get your ideas down on paper (or on a whiteboard). They don't need to look pretty, but they should be clear enough to communicate the basic layout and structure of your design. When creating low-fidelity wireframes, you may want to:
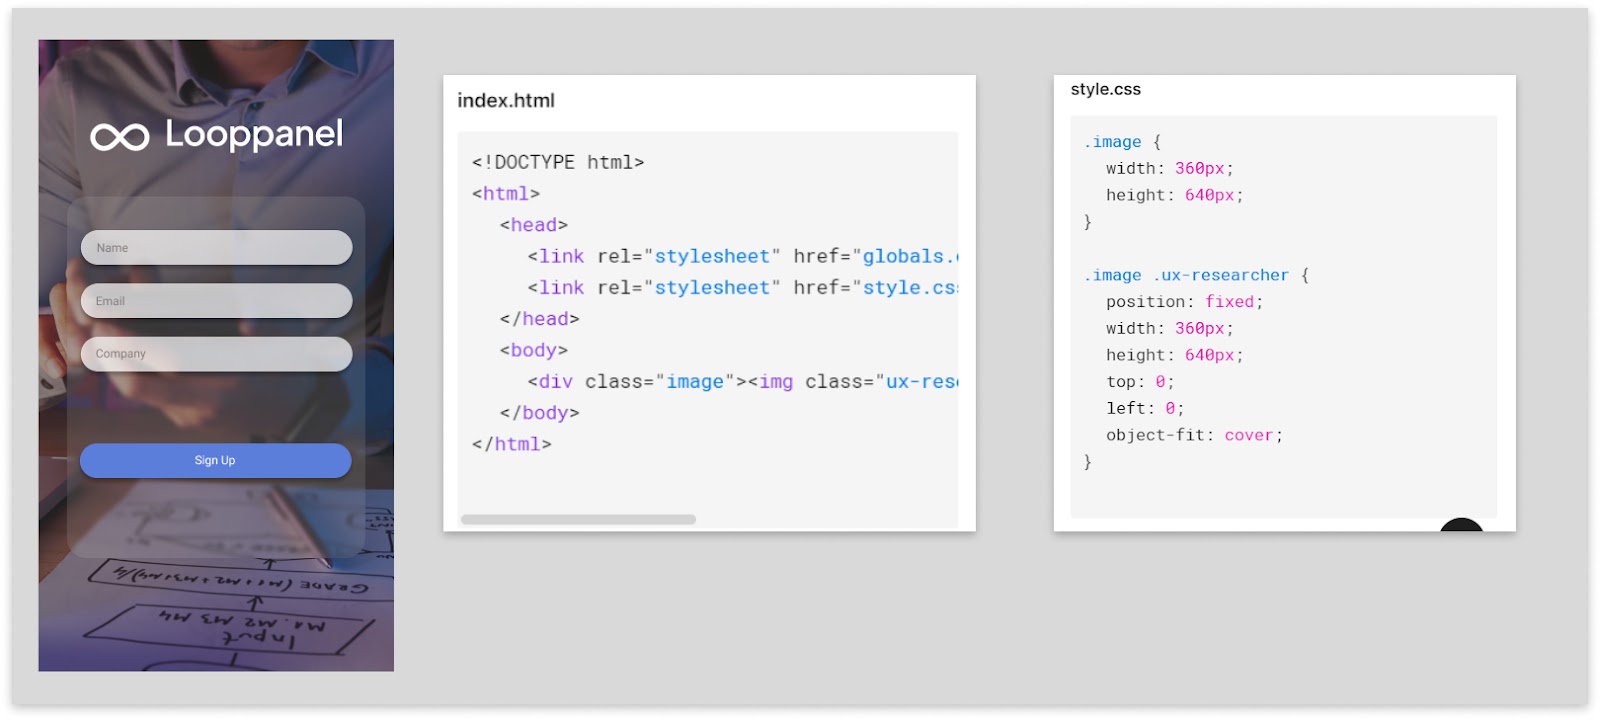
Once you're happy with the layout of your low-fidelity wireframes, you can start developing interactive prototypes. Interactive prototypes allow users to interact with the design and provide feedback on how it feels to use.
To create interactive prototypes, you may want to consider some tools and software like InVision, Justinmind or Axure.
The most important part of prototyping is getting feedback from users. Once you have a prototype, test it out with a variety of users and get their feedback on what works and what doesn't.
In getting feedback from users, you should:
Prototyping is the process of creating a simplified version of a product or interface to test its functionality and usability. It allows designers to gather feedback from users and stakeholders and make improvements before moving forward with the development phase.
Prototypes can be categorized into low-fidelity and high-fidelity prototypes.

There are various tools and software available for creating prototypes, such as:
These tools provide designers with the necessary features and functionalities to create interactive prototypes that simulate the user experience.
When creating prototypes, it's important to consider best practices to ensure their effectiveness. Some best practices include:
After you have finalized your wireframes and prototypes, it's time to start working on the visual design of your product or service. This is where you will choose the colors, typography, and other visual elements that will make your design look and feel its best.
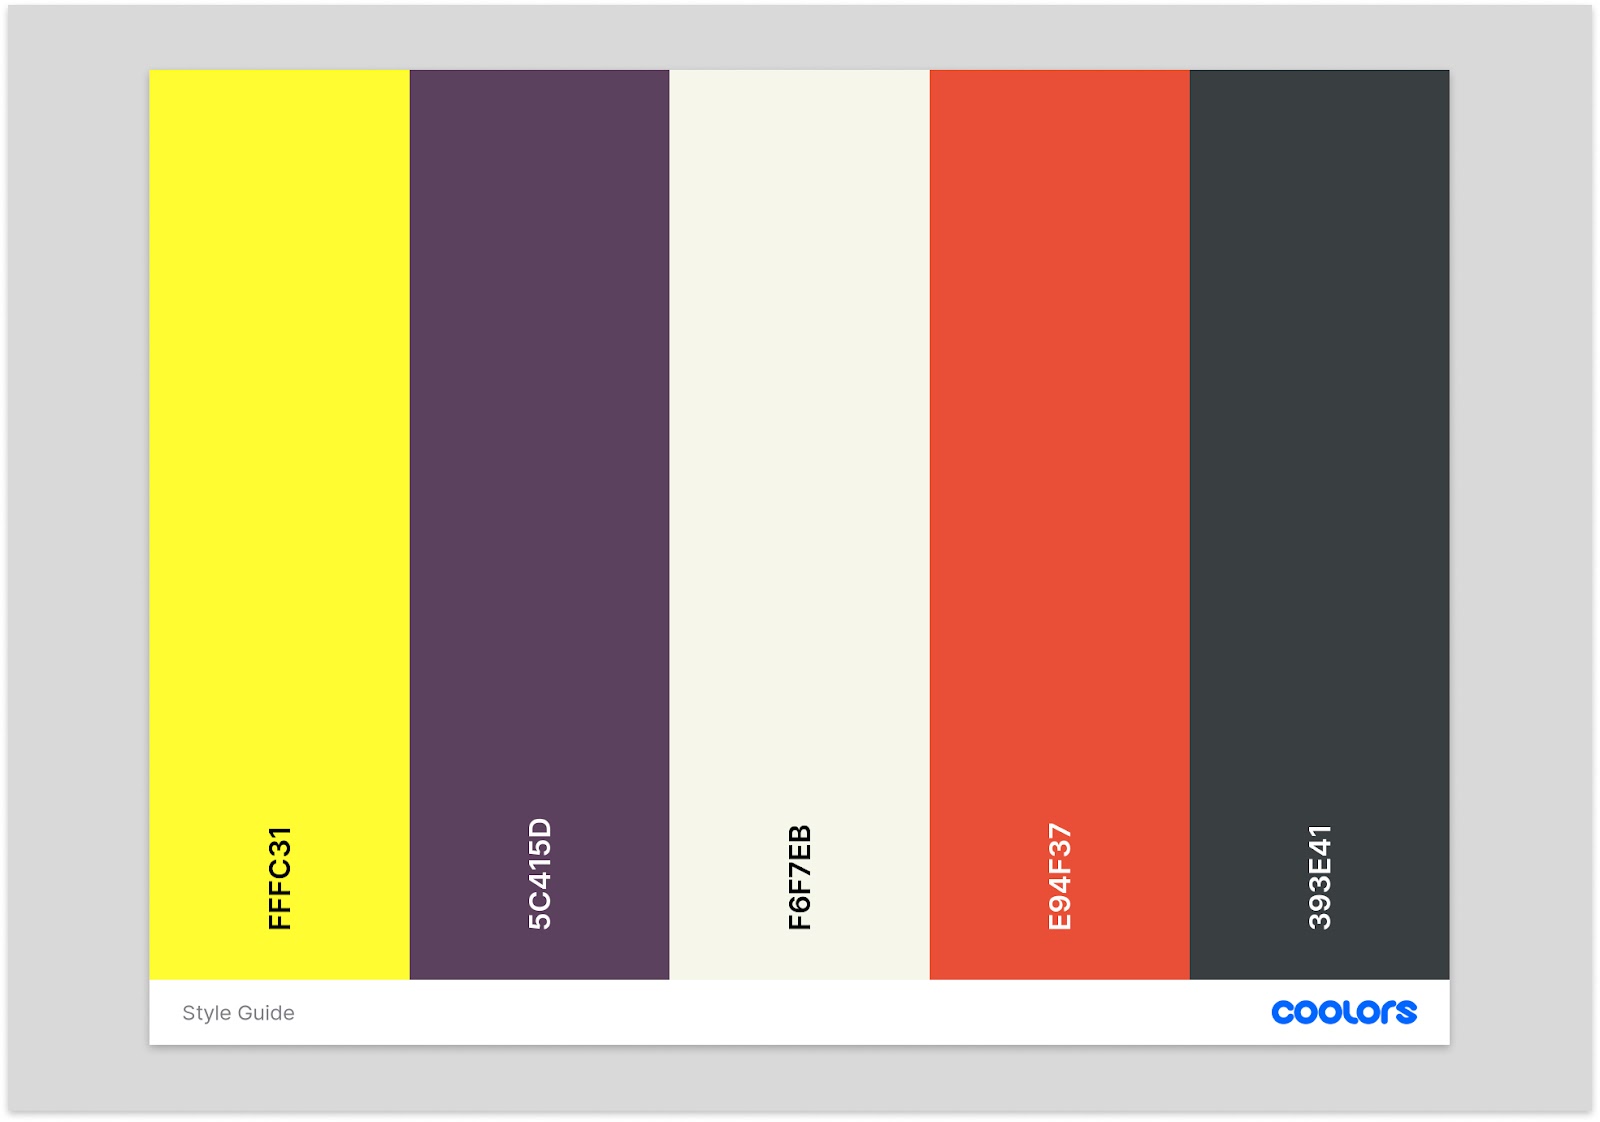
The colors and typography you choose will have a big impact on the overall look and feel of your design. Choose colors that are complementary and that work well together; referring to a color wheel can help with this. Choose typography that is easy to read and that fits the overall style of your design.
Once you have chosen your colors and typography, it's time to start crafting the visual elements of your design. This includes everything from the layout of your pages to the icons and buttons you use.
The goal is to create a visually appealing user interface that is easy to use and navigate. Here are a few tips:
Your visual design should be consistent with your brand identity. This means using the same colors, typography, and other visual elements across all of your marketing materials and products.
By ensuring consistency, you can create a strong and recognizable brand that will resonate with your target audience.
To ensure consistent branding of the elements, create a style guide that defines the colors, typography, and other visual elements of your brand. Use the same style guide across all of your marketing materials and products.
User testing involves conducting usability tests with target users to evaluate the design and identify any usability issues or pain points. By observing users as they interact with the product and gathering their feedback, it helps designers gain insights to inform further iterations and improvements.
Usability testing is a method of evaluating the usability of a product or service by testing it with real users. The goal of usability testing is to identify any usability issues or pain points that users may experience.
There are many different ways to conduct usability testing. Some common methods include:
Check out the ultimate guide on how to conduct moderated usability testing here.
Review the test recordings
This will give you a visual representation of how users interacted with the product or service. Pay attention to any areas where users seem to struggle or get frustrated.
For example, you might notice that users were having trouble finding a particular feature or that they were clicking on the wrong buttons.
Analyze the user feedback
This will give you a more detailed understanding of what users thought about the product or service. Look for any recurring themes or comments that indicate usability issues.
For example, you might find that users were confused about the instructions or that they found the design to be too cluttered.
Identify any patterns or trends
Once you have reviewed the test recordings and analyzed the user feedback, look for any patterns or trends. This will help you to identify the most common usability issues or pain points.
For example, you might find that users are having trouble with a particular task or that they are consistently making the same mistakes.
Once you have identified the usability issues or pain points, you can start to iterate on the designs to improve the user experience. This may involve making changes to the layout, the functionality, or the content of the design.
In the development and implementation phase, you will work with developers to bring your design to life. This involves providing them with the necessary design assets and guidelines to ensure that the design is implemented correctly.
Ensure that the design integrity is maintained across different devices and platforms, to provide a consistent and seamless user experience.
Developers are responsible for translating your design into code. To ensure that the design is implemented correctly, you will need to collaborate closely with them.
Provide detailed design assets, such as wireframes, prototypes, and style guides. Also be available to answer any questions they may have about the design.
Design assets are the files that developers need to implement your design. These include things like images, icons, and fonts. You should provide developers with all of the design assets they need in a well-organized and easy-to-access format.
Design guidelines are the rules that developers need to follow when implementing your design. These guidelines should cover things like colors, typography, and spacing.
It is important to ensure that the design integrity is maintained across different devices and platforms. This means that the design should look and feel the same regardless of whether it is viewed on a desktop computer, a mobile phone, or a tablet.
To ensure design integrity, you should use responsive design techniques. Responsive design means that the design adapts to the size of the screen it is being viewed on. This ensures that the design is always readable and usable, regardless of the device it is being used on.
The UX design process is a systematic and iterative approach to creating user-centered products and services. By following the steps of user research, ideation and conceptualization, wireframing and prototyping, visual design, user testing and iteration, and development and implementation, you can create seamless and enjoyable user experiences.
Looppanel automatically records your calls, transcribes them, and centralizes all your research data in one place


